You are using an out of date browser. It may not display this or other websites correctly.
You should upgrade or use an alternative browser.
You should upgrade or use an alternative browser.
850T 850t restoration
- Thread starter blackridge
- Start date
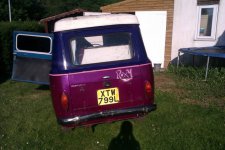
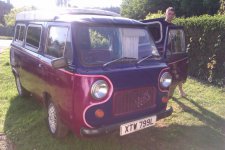
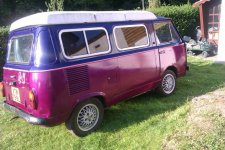
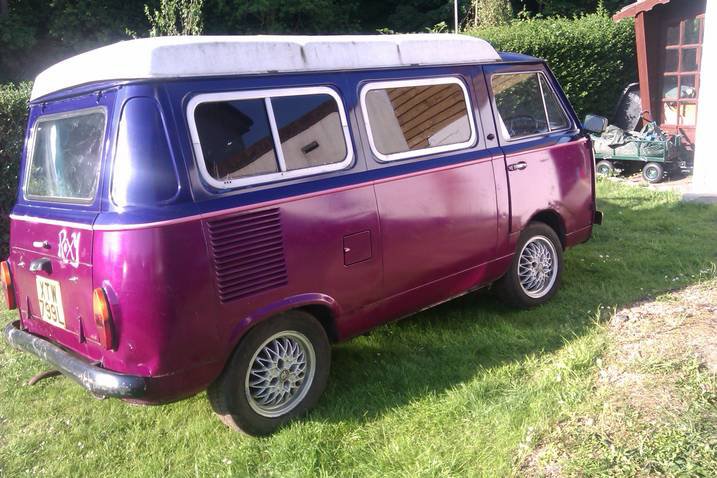
Must have had her about 2 years now.
Had a red one the same year as yours before that and a blue 900t before that one.
I used to live in Brighton up until about a year ago so you might have seen one of them around.

wow she's beautiful! just how i want mine to look when shes finished, only difference is im going for a white roof so the pop top dont stand out quite so much. do you have any photos of the interior as mine has been painted with black gloss and im not sure if i want to sand it all back and varnish it, or paint it white? :idea:
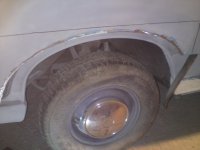
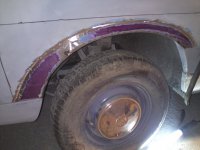
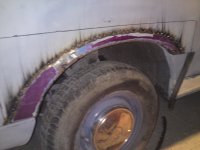
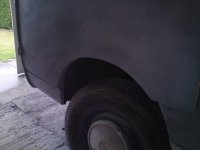
Well after much searching for rear arches i found what i thought would be a good match for profile and size as the orginals. Was not a perfect match, but more than happy with the end result .
.
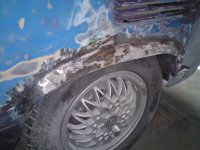
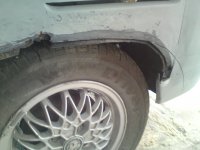
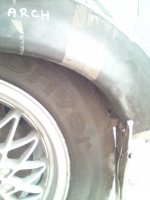
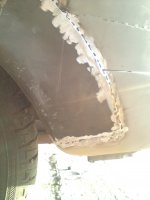
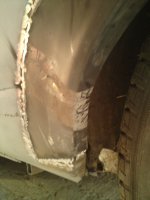
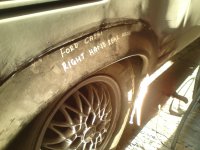
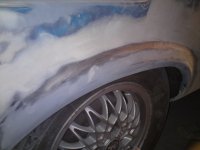
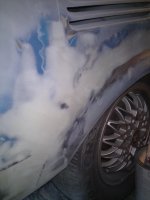
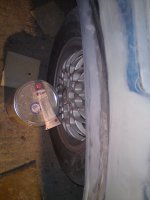
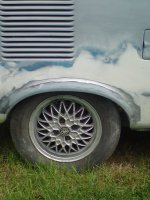
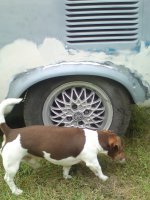
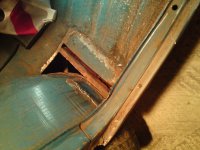
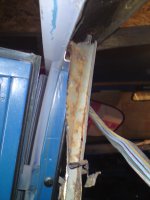
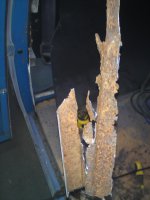
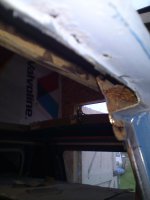
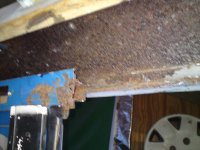
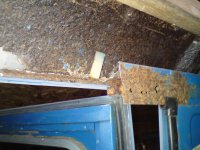
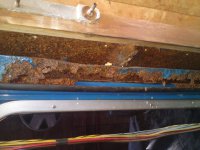
I also had a go at sorting out the very rusty area above the side door, looks like lots of water had got into this area and the rust had really taken hold, still need to grind down the welds and have a general tidy up but its no longer rusty!
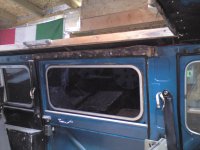
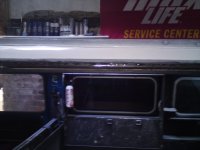
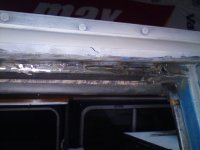
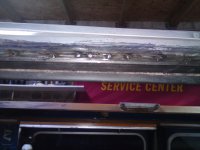
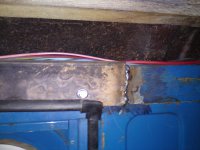
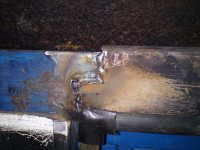
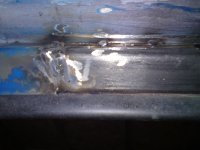
And yes the rear arches are from a MK2 FORD CAPRI!!!! LOL.


I also had a go at sorting out the very rusty area above the side door, looks like lots of water had got into this area and the rust had really taken hold, still need to grind down the welds and have a general tidy up but its no longer rusty!


And yes the rear arches are from a MK2 FORD CAPRI!!!! LOL.
spannerdude
Member
Wow, you are really getting after it! Nice going.
I'm creating a new roof rail and gutter channel at the moment too. The roof hinges have popped all the spot welds along the gutter channel and water has been pouring straight in.
Keep at it. It'll all be worth it in the end
I'm creating a new roof rail and gutter channel at the moment too. The roof hinges have popped all the spot welds along the gutter channel and water has been pouring straight in.
Keep at it. It'll all be worth it in the end
A Sancataldo
New member
Re: 850 sports coupe
I need to replace the rear wheel bearing in a 1969 series 2 - does anyone know where I can get wheel bearings from (eg, other models etc)?
I need to replace the rear wheel bearing in a 1969 series 2 - does anyone know where I can get wheel bearings from (eg, other models etc)?
spannerdude
Member
Re: 850 sports coupe
You are not exactly spoiled for choice there. Quinton Hazell used to list part number QWB250 for the rear of the 850 from '65-'72 and 133 from '74-'76. This part isn't fitted to anything else in the copy of the catalogue I have.
Search for QWB250, they occasionally pop up on ebay.
Alternatively if you have any friendly bearing people near by you might be able to work out what they are from this:
Manufacturer QUINTON HAZELL
Number QWB250
Description Wheel Bearing Kit
Outer Diameter 1 [mm]62
Inner Diameter 1 [mm]25
Width 1 [mm]16,9
Outer Diameter 2 [mm]58
Inner Diameter 2 [mm]28
Width 2 [mm]19
I need to replace the rear wheel bearing in a 1969 series 2 - does anyone know where I can get wheel bearings from (eg, other models etc)?
You are not exactly spoiled for choice there. Quinton Hazell used to list part number QWB250 for the rear of the 850 from '65-'72 and 133 from '74-'76. This part isn't fitted to anything else in the copy of the catalogue I have.
Search for QWB250, they occasionally pop up on ebay.
Alternatively if you have any friendly bearing people near by you might be able to work out what they are from this:
Manufacturer QUINTON HAZELL
Number QWB250
Description Wheel Bearing Kit
Outer Diameter 1 [mm]62
Inner Diameter 1 [mm]25
Width 1 [mm]16,9
Outer Diameter 2 [mm]58
Inner Diameter 2 [mm]28
Width 2 [mm]19
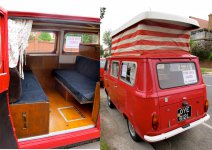
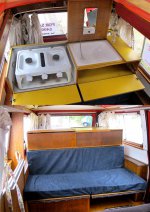
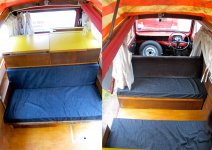
The interior on mine is a different (later) conversion without the cooker, sink unit at the rear. it has a full length bed and more under seat storage and a central table between the facing bench seats. I was going to swap the camper interior out of the red van before I sold it but decided that I preferred the extra large comfy bed and I never used the cooker and sink anyway. I think this conversion will be the same as yours (Fiesta) as it's the same year (the plywood floor with leisure battery hatch and denim covered foam seats were not original but everything else is, albeit from another donor van). I think it would be worth the effort to strip the paint off as these conversions are wooden rather than the horrible veneered chipboard found in the later Amigos (sorry Amigo owners!) Keep the photos coming, you're doing a really great job, can't wait to see it finished.wow she's beautiful! just how i want mine to look when shes finished, only difference is im going for a white roof so the pop top dont stand out quite so much. do you have any photos of the interior as mine has been painted with black gloss and im not sure if i want to sand it all back and varnish it, or paint it white? :idea:
Attachments
Last edited:
Right i have been putting off doing the doors because it looked like it would be a tricky repair, but considering that new/good condition doors from italy cost a bomb i had no other choice but to make repair panels and see how it turned out...
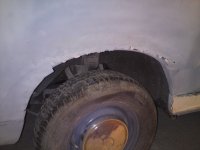
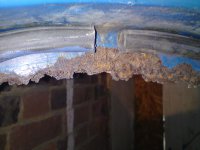
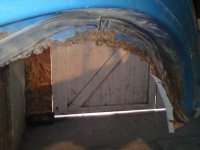
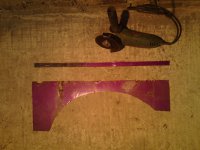
After looking around for suitable metal to make the repair panel i noticed that the old engine hatch had just about the right amount of rust free metal to make the 2 panels that i needed, added bonus is that it had the right curve to the surface to match the curve in the doors.
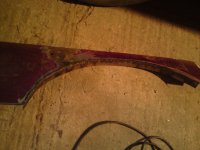
So satisfying when you cutout rotten metal
I also welded the panel on the inside of the door to give it more strength.
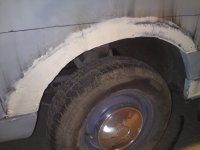
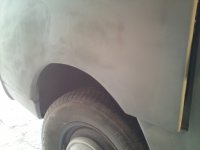
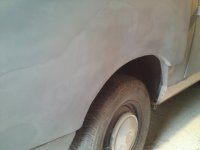
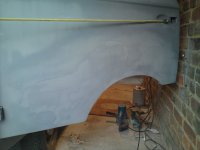
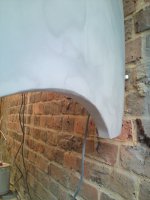
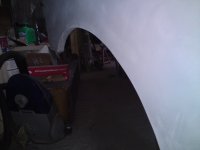
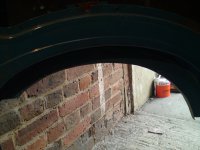
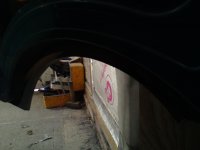
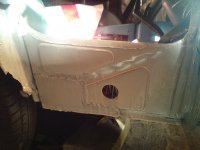
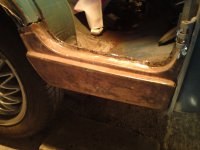
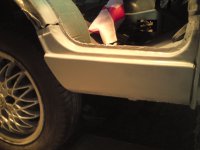
Still more fine filling to be done but surprised myself with how the doors have turned out! Next job will be drivers side wheel arch and lower panal


After looking around for suitable metal to make the repair panel i noticed that the old engine hatch had just about the right amount of rust free metal to make the 2 panels that i needed, added bonus is that it had the right curve to the surface to match the curve in the doors.


So satisfying when you cutout rotten metal

I also welded the panel on the inside of the door to give it more strength.


Still more fine filling to be done but surprised myself with how the doors have turned out! Next job will be drivers side wheel arch and lower panal
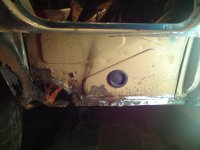
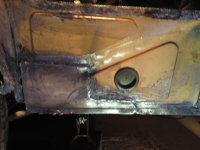
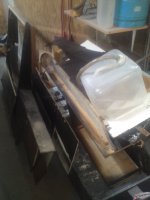
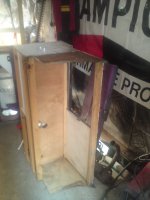
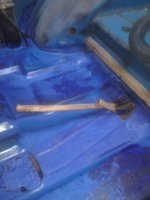
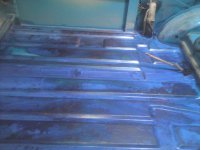
More work done this week, I wanted to get the heating up and running so i spent some time blowing through the heater matrix and associated pipes, somebody had bypassed the heating system so the water when from the thermostat straight to the bottom of the radiator? Knowing that the cooling on these engines is adequate at best i wanted the extra cooling that the matrix at the front would offer. So after reconnecting all the pipes i started to fill the coolant... Then noticed a bloody great big puddle under the van! So had to strip all the interior out only to find that the pipes that take the water to the heater matrix have rusted in more than one place . So i made the most of the bare interior and rubbed and treated the floor and painted it, there was olny one small hole to weld and the rest was in great condition
 .
.
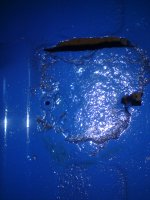
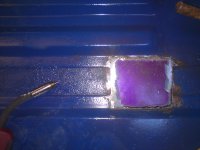
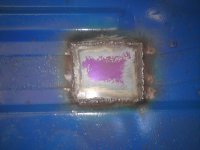
Now the van is completely stripped i have been seriously been thinking of changing the colour, i know it would involve alot more work but im tempted, to help make my mind up i decided to spray the front of the van to see if i like the blue...
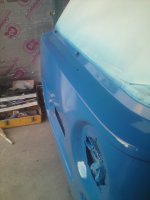
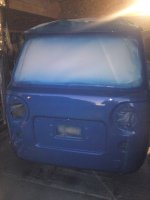
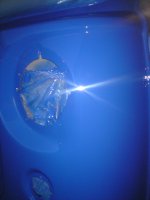
The more i look at the blue and the fact that i want it to look as standard as possible (not counting lowering and a nice set of 13's) the more i like it! What do YOU think?


Now the van is completely stripped i have been seriously been thinking of changing the colour, i know it would involve alot more work but im tempted, to help make my mind up i decided to spray the front of the van to see if i like the blue...


The more i look at the blue and the fact that i want it to look as standard as possible (not counting lowering and a nice set of 13's) the more i like it! What do YOU think?
Fixed the heater matrix so now i will have some heat up front  , thought id put this video up of the van.
Love the blue in the last picture, but in the second and third last pictures it looks washed out and drab. Maybe it's just the lighting?The more i look at the blue and the fact that i want it to look as standard as possible (not counting lowering and a nice set of 13's) the more i like it! What do YOU think?
Love the blue in the last picture, but in the second and third last pictures it looks washed out and drab. Maybe it's just the lighting?
Yeah lighting not too good, also the last picture is the third coat so looks alot deeper, im not too sure if i like it tbh but still a while till it gets sprayed im doing some more work on the roof because ive decided not to have the pop top, im going to have a full length ragtop sunroof instead
Daveytwomeals
New member
Hello mate
Enjoying following your restoration.
I've just bought a 1972 850T van which was converted for ice cream at some point and recently used for selling beer at events by some guys in Leeds. There's a pic on my profile.
I'm in Brighton so keep an eye out for it as I'll be rebranding it and upgrading it as a food van.
Cheers
David
alastair mccallum
New member
How is this coming on? interested to hear how its going, I will send you mine to do when you have finished looks a great job
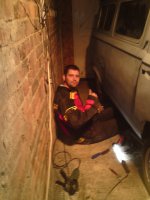
Right been busy with the van and have decided that to do the job properly i need to completely strip it! The engine is out, the doors are off and the windscreen is out. The main reason for this is that i have decided to change the colour and want it to look right and not bodged. I also done some back tracking and cut out my previous roof sections that i had welded in because i wasnt happy with leaving the old rusty metal behind them. and i am now considering making the van more of a day van without the camping interior or pop top( sacrilege i know ) , A good friend of mine is a car trimmer and he could make me a full length webasto sunroof like you see on some VW's.
Anyway heres some photosof the van as of yesterday.
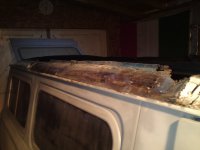
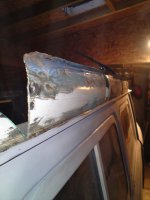
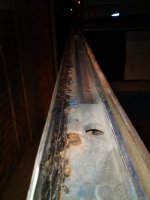
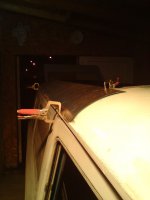
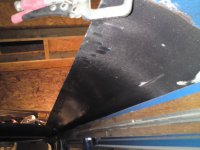
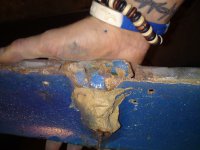
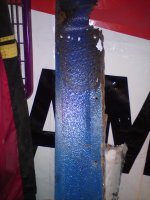
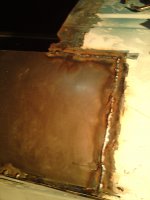
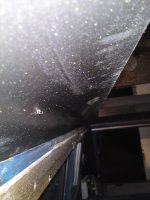
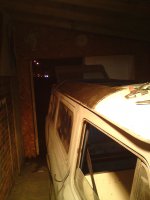
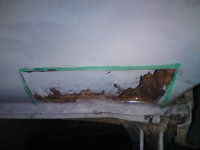
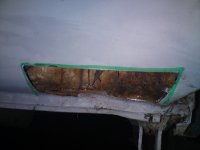
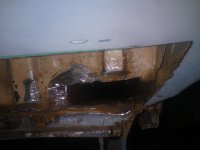
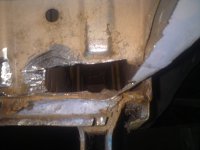
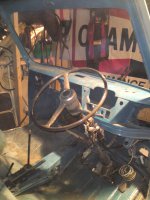
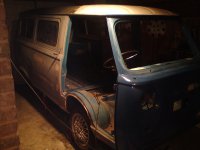
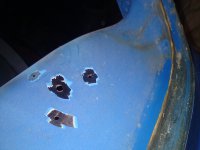
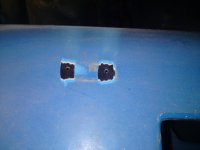
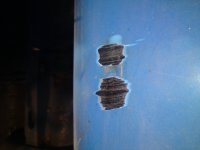
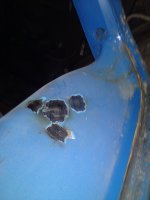
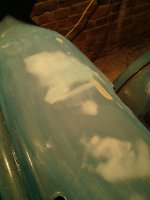
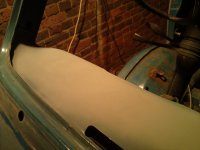
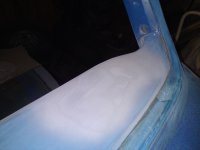
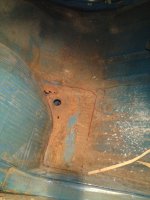
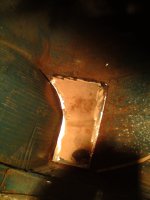
Thr roof repair panel is from a vw bay window camper and has almost the same profile and fits like a glove!
Anyway heres some photosof the van as of yesterday.


Thr roof repair panel is from a vw bay window camper and has almost the same profile and fits like a glove!
Hello little update, i have finaly finished fabricating the roof 
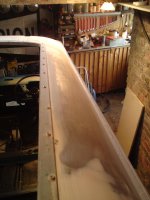
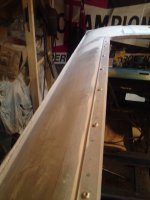
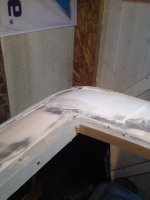
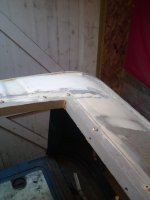
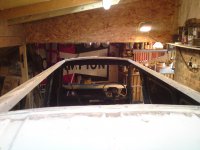
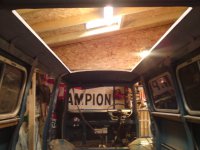
I am happy now that there is no rust on the roof and that it is strong and ready for the rag top sunroof, which will be fitted after the van is sprayed.
I have also repaired and prepped the engine bay.
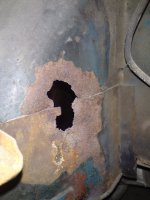
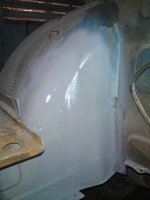
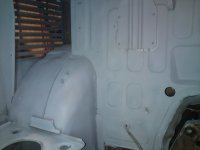
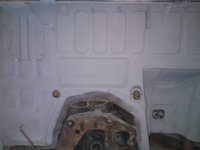
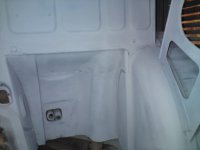
Also referbing the shocks which although rusty have no oil leaks and seem to work fine.
Here are the front shocks in the process of being cleaned.
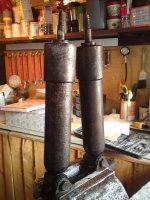
And here are the finished rear shocks, just need 4 more rubber bushes.
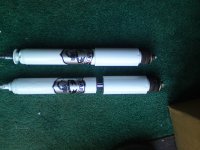
I am still as keen as ever to get this van finished and looking forward to spraying it and slowly putting it back together! Just undercided on the colour? any idea's?
I do rather like these two colour's / styles
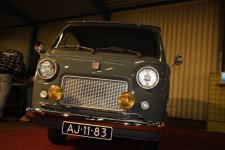

:worship:


I am happy now that there is no rust on the roof and that it is strong and ready for the rag top sunroof, which will be fitted after the van is sprayed.
I have also repaired and prepped the engine bay.


Also referbing the shocks which although rusty have no oil leaks and seem to work fine.
Here are the front shocks in the process of being cleaned.

And here are the finished rear shocks, just need 4 more rubber bushes.

I am still as keen as ever to get this van finished and looking forward to spraying it and slowly putting it back together! Just undercided on the colour? any idea's?
I do rather like these two colour's / styles


:worship:
spannerdude
Member
Personally I've always liked the grey.
Hello mate. The van's looking great, you're doing a brilliant job.
I was wondering where you got the lower front panel from (under the door) as I need to do both sides on mine. Hope you dont mind me asking. Cheers.
Keep up the good work, can't wait to see it finished.
I was wondering where you got the lower front panel from (under the door) as I need to do both sides on mine. Hope you dont mind me asking. Cheers.
Keep up the good work, can't wait to see it finished.
Similar threads
- Replies
- 163
- Views
- 6K
- Replies
- 5
- Views
- 2K


