Lego 007.JPG

Tipo (Classic) New Tipo (old model!)

Introduction

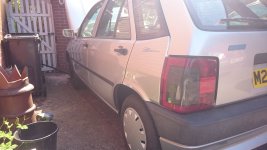
Following the demise of the red Tipo (see previous rust thread) I obtained a new one and this is work to date. This one had a fairly long MOT failure list including excessive corrosion on both front suspension mounts, 1 rear seat belt mounting point and an advisory on the other. However the 'Liberty' special edition with air-con in SX trim was tempting and the previous owner had fitted new springs and had some tidy welding done previously. So what needs doing...
Lego 007.JPG

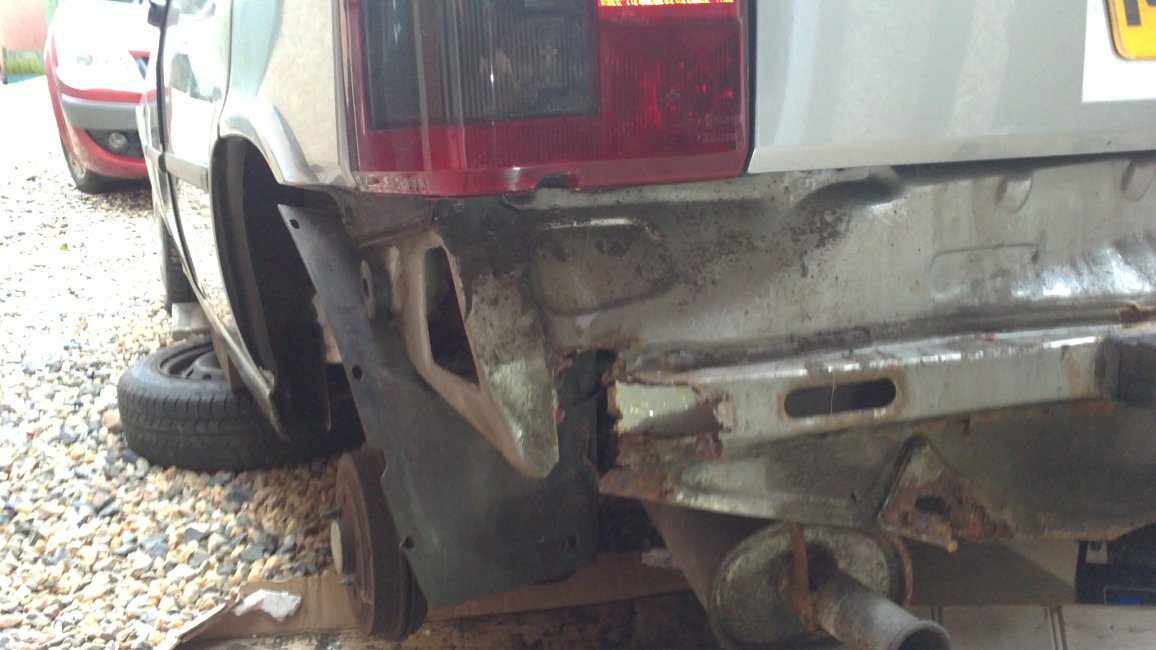
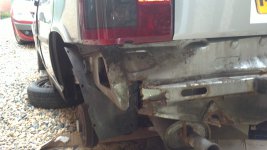
The rear valance is heading the same way as the red Tipo and cutting off and using the remade valance from the red one may be the way forward later on.
Lego 002.JPG

Lego 003.JPG

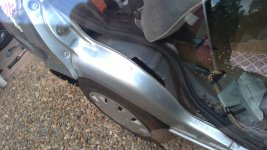
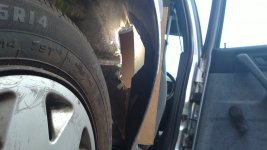
The inner arches are not too far gone but there was more rust at the top and the back to tackle later.
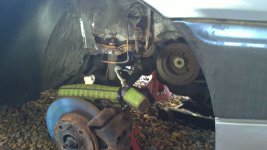
Lego 027.JPG

The holes behind the front struts will be the worst to fix, just above the sub-frame mounting bolts. Both my Mk11s suffer this.
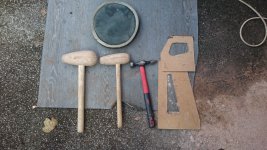
Regarding tools for the earlier fabricating work, the following is required:

1)a sturdy bench and vice,
2)a Panel beating hammer to bash the sheet into cut outs resembling the shapes in the original panel, cut outs are made in thin hardboard. For folds that may also be curved, cut the curve in thick hardboard x 2, sandwich the metal sheet between the hardboard in the vice and bash it round the hardboard profile.
3)A couple of round headed wooden hammers to make dished shapes, hitting it on to the shotbag.
4)You can get a shotbag from a bodywork supplier and it needs to be filled 2/3 full with lead shot. The hammers can be bought cheaply on Ebay.

DSC_0445.JPG
 
Last edited:
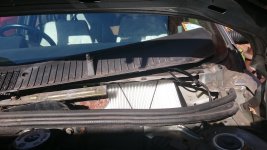
Some time ago on here, somebody retro fitted a pollen filter to a LHD car. I don't need to do that because the Tipo Liberty brochure states the air conditioning provides 'a breath of clean fresh air'. Upon investigation, this statement turns out to be questionable, as with all UK cars there is no cabin filter. :D

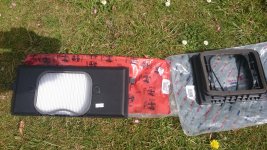
I had bought the two types of filter case listed for the Tipo for the Turbodiesel but neither would fit a RHD car, there are too many obstacles in the way.

DSC_0416.JPG

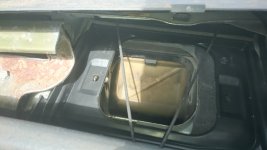
Looking at this again on the car I have now, I found by cutting the height of the smaller frame down and adding additional foam, a reasonably neat solution is possible, if a tight fit. Cartridges are available for the Tipo, although they can't have sold many! It just needed the width trimming.

DSC_0418.JPG

DSC_0420.JPG
 
Last edited:
After a relaxed job adjusting the panel fit on this car and also the front doors so they don't have to be hurled shut, I can't really dodge an investigation of the engine issue. I can hear a clacking from the left of the cam and an unhappy bearing.

I figure as the oil light is going out immediately the oil is getting up to the cam as it should, as the sensor is located in the cylinder head. This is a comfort as given the original state of the block, you might imagine any residual blockage being in there. Possibly the oil gallery to the left of the cam is the issue but everything looks normal so far.

DSC_0476.JPG

DSC_0474.JPG
 
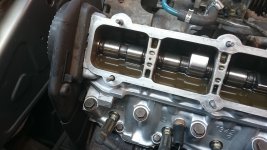
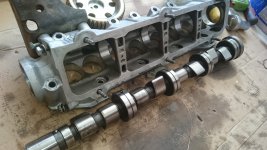
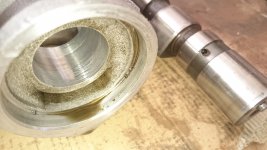
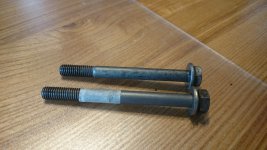
No particular issues with the bearing, just one tiny pit in the alloy probably historic and the oilways were clear. I think the cam was perhaps a touch out of position laterally blocking the oil holes, it seems to be that it can be positioned incorrectly. Then when putting the cam carrier back on the head disaster struck when a bolt hole threaded. Can't understand what caused this really so was fortunate to find a slightly longer bolt left over from the diesel head which could utilise the remaining thread.
 

Attachments

  • DSC_0502.JPG
    DSC_0502.JPG
    3.1 MB · Views: 49
  • DSC_0501.JPG
    DSC_0501.JPG
    2.7 MB · Views: 46
  • DSC_0503.JPG
    DSC_0503.JPG
    3 MB · Views: 44
So, it is running now but running very rough at idle. The 'economy gauge' is all over the place, so does this point to an air leak? Could spark plugs, leads be an issue? Any things I can try or ideas would be welcome.:confused:
 
So, it is running now but running very rough at idle. The 'economy gauge' is all over the place, so does this point to an air leak? Could spark plugs, leads be an issue? Any things I can try or ideas would be welcome.:confused:

Sounds like a vacuum leak alright. Change each at a time and rule them out.
 
Thanks for clarifying this, its encouraging to know where to start. I do remember re-using a gasket on the throttle body which wasn't in great shape. Googling this there seems to be a technique using carburettor cleaning spray to see if the idle is affected by ingesting the spray at the leak point.
 
Last edited:
Rightio not making much progress with the engine running issue so I thought I'd try to address the most annoying issue with this car, difficulty reaching 1st and third gear, with the need to maintain forward pressure on the stick to run in these gears and liable to drop out of gear (cue hideous crunching) on bumps or right turns. Relaxing not! :eek: And a shift quality like stirring lumpy plaster.

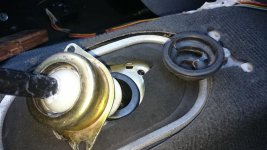
The gear rod is an interesting set up with a plastic ball in two halves glued on, a captive rubber boot, a casing, some insulation and two metal plates with the second containing the pivot mounting bolt and sleeve under the floor. The boot is trapped between the ball and the pivot, so cannot be replaced and mine was torn. Although the first plate could be levered out of the floor aperture it seemed to me no human would be able to reach the both ends of the pivot bolt under the second plate without going from below and removing the exhaust and 2 covers, but I didn't fancy that and it seemed to work ok so I moved to the other end of the linkage.
 
Last edited:
pivot.JPG

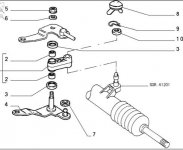
The rear end of the linkage unit in the middle of the drawing here is mounted on a bracket which is part of the steering rack aluminium casting. It took a couple of evenings messing around and study of Haynes for it to dawn that the bracket was not just that but a second pivot/pin. But that on my car, the linkage unit just happened to have welded itself solidly to. After applying a clamp to leverage the linkage unit from the front and applying full force :eek: eventually I was able to get a couple of mm of sideways movement.

Clearly the linkage unit was not in any mood to be parted from the steering rack so it seemed the belt sander would be my only option given the linkage's location underneath the floor, above the subframe and behind the engine.
 
Last edited:
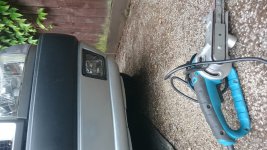
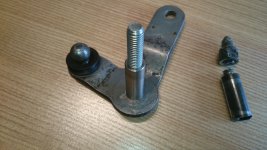
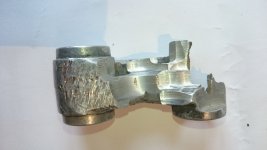
Belt sanders are a splendid tool for £20 with more precision and much less chance of collateral damage than a grinder. Eventually with good illumination and taking it very slowly the linkage unit was recovered by destroying it leaving the pivot/pin on the rack intact, as the thought of having to replace the steering rack was too painful to contemplate! The integral thread on the bell crank (no.4) had already broke earlier due to a seized nut, the bell crank is not available any more but I was able to repair it by drilling a hole and fitting a conventional bolt and sleeve as shown.

DSC_0650.JPG

DSC_0629.JPG

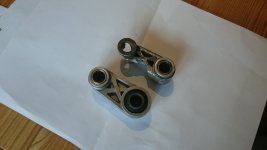
DSC_0604 (2).JPG
 
Last edited:
The more commonly available replacement linkage unit is super-sized (shown the wrong way round!) and given the tiny space around the power steering pivot getting it on/off in future would be a concern so I sanded some of thickness before refitting (however the design with a metal and rubber sleeves seems designed to avoid future corrosion). There was a new plastic bush to press fit on to the bell crank and after reassembly and copious greasing of all front-end components I cut off the split boot in the car and replaced with a 38mm grommet which does the job.

DSC_0601.JPG

DSC_0631.JPG
 
Last edited:
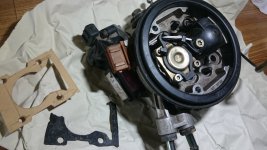
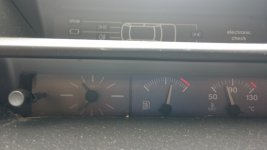
The gear change is now most silky and amenable and it's worth stepping outside the house just to operate it but I can't figure the engine out. I've changed the spark plugs, which unthinkingly I'd put back in and were in bad condition, reassembled the throttle body, finding a few minor issues, checked the timing, tried retarding it and checked for hose issues. Slight improvement but still a rubbish idle with the economy/vacuum gauge hovering in the middle.

DSC_0547.JPG

DSC_0648.JPG
 
Last edited:
Glad you've fixed the gear linkage, fortunately my mechanic spotted that mine was very stiff a couple of years ago and he knew how to lever it about to get some cleaner / lubricant inside that freed things up nicely.

Shame about the engine idle issue... I've found that with older cars you can disturb things when dismantling and reassembling, this can cause failures in the electrics or air hoses etc. If you've done the camshaft then you will have moved or removed everything to the left of the engine, including stuff that connects to the Injection / throttle body. The wires and insulation / connectors could be vulnerable to moving and flexing. There are various hoses into the air intake system including one from the crankcase breather. The idle control valve at the back of the EFI is a notorious weak point.

Hopefully everything you've done to the camshaft was straightforward, I don't know if that could have affected the valve clearances but it's worth double-checking them... definitely made a difference to my car when I had them reshimmed recently.
 
cleaner / lubricant inside that freed things up nicely.

Hopefully everything you've done to the camshaft was straightforward, I don't know if that could have affected the valve clearances but it's worth double-checking them... definitely made a difference to my car when I had them reshimmed recently.

Good thing to keep it moving. There are various seals on the linkage pivots, the seal on the mine that had rusted solid had disintegrated but looking at that pivot operating now it's freed, by design it only moves slightly so prone to seizure.

You had mentioned the gaps set during the engine rebuild so I had checked them. Cylinders 1 to 3 both inlet and exhaust are all coming up as 0.1 too tight, but the inlet and exhaust gaps on no 4 actually appear to be the wrong way round, inlet 0.5 (should be 0.4) and exhaust 0.35 (should be 0.5). Possibly that is the issue, (what's 0.15 between friends I thought at the time?) so maybe I accidentally mixed up the buckets/shims there. Probably a cam box off job again as shim extractors seem hard to come by/use...
 
Last edited:
You definitely need to get the valve clearances as close to spec as you can, you'll never sort out the running and emissions if the basic mechanicals of the engine are off. Remember that clearances affect valve timing and whether the valves can properly follow the cam profile. Plus the 4 cylinders will be giving different powers and fighting against each other.

Those clearances seem way out, remember 0.1mm is DOUBLE the maximum tolerance of 0.05. I had mine redone after having a persistant rough idle (and marginal emissions) after checking all the ignition and fuelling components (and looking for error codes e.g. temp sensor, lambda).

If you can find or borrow the Fiat / Alfa bucket compressor tool that will make things much easier because you can do 2 valves at a time. A magnet helps too when lifting out the shims.

I'd definitely do it properly rather than taking the cam out again, that could just introduce more variation.

I seem to remember you saying that the engine builders claimed to have done the clearances... I would take it back and watch while they do it properly this time !
 
Any update on this Jonti? Positive or otherwise.

As usual it is residing on its favourite axle stands but I chanced an MOT recently, it's been 3 years or so and the fail wasn't too bad.

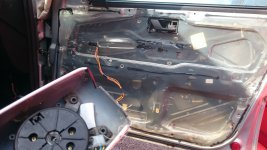
The indicators were not working at all so I cleaned the earths, replaced both damaged mirrors, the nearside was also blowing the indicator fuse. Turned out to be the classic joined wires in the door from a previous replacement. This was to avoid running the new mirror cable all the way to the correct connection under the dash.

DSC_0592.JPG
 
Last edited:
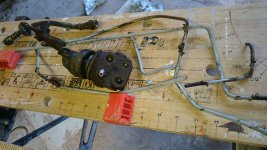
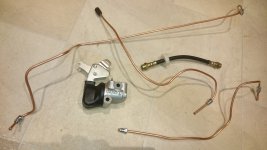
It failed on brake pipes, brake load valve oh and the indicator side repeaters. It was the right call, this lot looked nasty at 25 years old :eek:

DSC_0688.JPG

DSC_0680.JPG

Predictably this led to a mad rush the day before the last permissible retest day to get this lot in...
 
Last edited:
Back
Top